Wednesday, September 21, 2011

NEW PORTFOLIO SITE

Hi everyone! I've moved sites, so if you want to stay in touch, check out sarahmenard.blogspot.com! See you soon <3

Thursday, August 25, 2011

Hard Candy Glitter Eyeshadow in Ammo Review, Pictures, Swatches


Please Read: I am not paid by any cosmetic companies to review any of these products. Everything I review is bought by me, and I will always give a %100 honest review.
  • Packaging:  Comes in a cute white doughnut pan. I think it looks really cute, but there was a problem with opening it. You need to place your thumb near the center and slide it out- BUT mine kept getting stuck. So it's a little dificult to slide open, but I ended up getting it after a few tries.
  • Product: The actual product is VERY creamy and lightweight. The formula is very fluffy and has a good texture. I appled Ammo to my lid and crease with my finger @ 2:55 PM and did a check on it after 10 minutes. At 3:05 PM there was definitely some creasing going on, which was a red flag in my books. This product needs either a primer as a base, or maybe an eyeshadow or eyeliner as a base for it to work properly in your crease. This product actually has good staying power, which was definitely a plus.  
    • Ammo:  is a light apple green shade of glitter.
  • Dupes:  N.A. 
  • Final Thoughts: If you're trying out Hard Candy for the first time and are looking to be impressed, I don't think you should go out and try this specific product. It's not necessarily a BAD product, but if you generally have oily skin/ eyelids this is a bad product to choose. I think I would use this product again, but I'm not sure if I would go buy it again. 


10 minutes after application.

Tuesday, August 23, 2011

Halloween Tutorial: Snooki

HQ pictures at bottom of the page
Hi everyone! Here's my next HALLOWEEN TUTORIAL! I decided to have some fun with this one. I absolutely adore watching Jersey Shore, so I did a Snooki tutorial. It's totally easy, and it definitely can be worn as an everyday look. To complete the look, you definitely need to do her trademark POOF with your hair, or else you'll just look like you're wearing a smokey eye. The poof definitely defines Snooki. Anyways, let's begin!


Step 1: Apply NYX Cosmetic's Pots & Pans jumbo eye pencil to your inner corner, and to two thirds of your lid. Also underneath your lower lashline. Blend it out slightly with your finger.


Step 2: Apply this silver shade from the 88 Palette on top of Pots and Pans. Slightly blend it outwards.


Step 3: Apply NYX Cosmetic's Slate jumbo eye pencil to your upper lashline and outter corner. Make a rough outline of a wing shape.


Step 4: Apply the black shade from the 88 Palette to the outter third and crease of your eyelid.


Step 5: Blend the black shade outwards really well.


Step 6: Apply NYX Cosmetic's Black Bean jumbo eye pencil to your waterline.


Step 7: Apply a couple coats of black mascara to your lower and upper lashes.


Step 8: Very lightly apply MAC Cosmetic's Pink Nouveau to your lips with a lip brush.


Monday, August 22, 2011

Halloween Tutorial: Babydoll

I'm officially starting my halloween / character makeup tutorials! I figured I should get a head start because there's so many different options when it comes to halloween costume / character ideas. I decided to do a Sucker Punch tutorial for Babydoll. The makeup is all smokey with dramatic eyelashes, and it can actually be worn as an every day look. Let's begin with the tutorial!

Step 1: Apply NYX Jumbo eye pencil in Milk to your eyelid, and blend it outwards.


Step 2: Apply the neutral beige shade from the 88 Palette to your eyelid and slightly blend it into the crease. Then lightly blend the smokey purple shade to your crease.


Step 3: Mix the black and brown shades from the 88 palette and apply it into your crease. Slightly blend it out, and bring it underneath the lower lashline.


Step 4: Apply Maybeline's Gel Liner in Blackest Black to your upper lashline, and create a small wing in the outer corner.


Step 5: Apply Sephora's Triple Action mascara to the base and ends of your upper lashes.


Step 6: Apply Ardell's Fashion lashes in #107 Black.


Step 7: Apply Rimmel's blush in Pink Sugar. Finish off the look with a pinky/nude lipgloss. Complete the Babydoll look by tying your hair in pigtails and wear a dark headband!


Wednesday, August 17, 2011

Nicole by OPI Voting

Hey everyone! I haven`t blogged in a while, but I would appreciate it if you would give me a vote for the OPI nail your style contest! Thanks very much!! VOTE!!

Wednesday, July 27, 2011

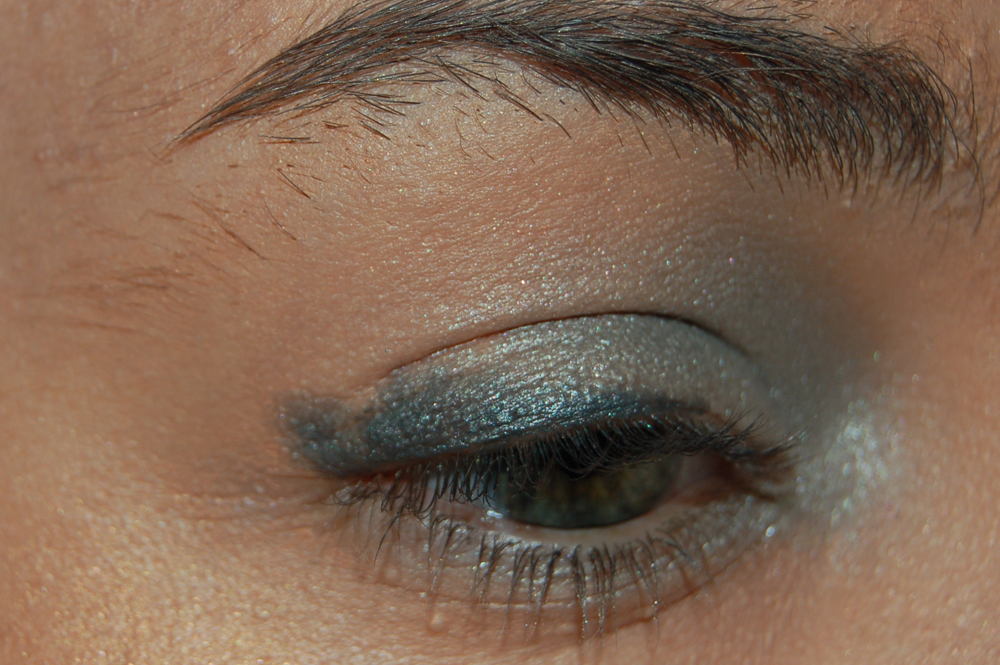
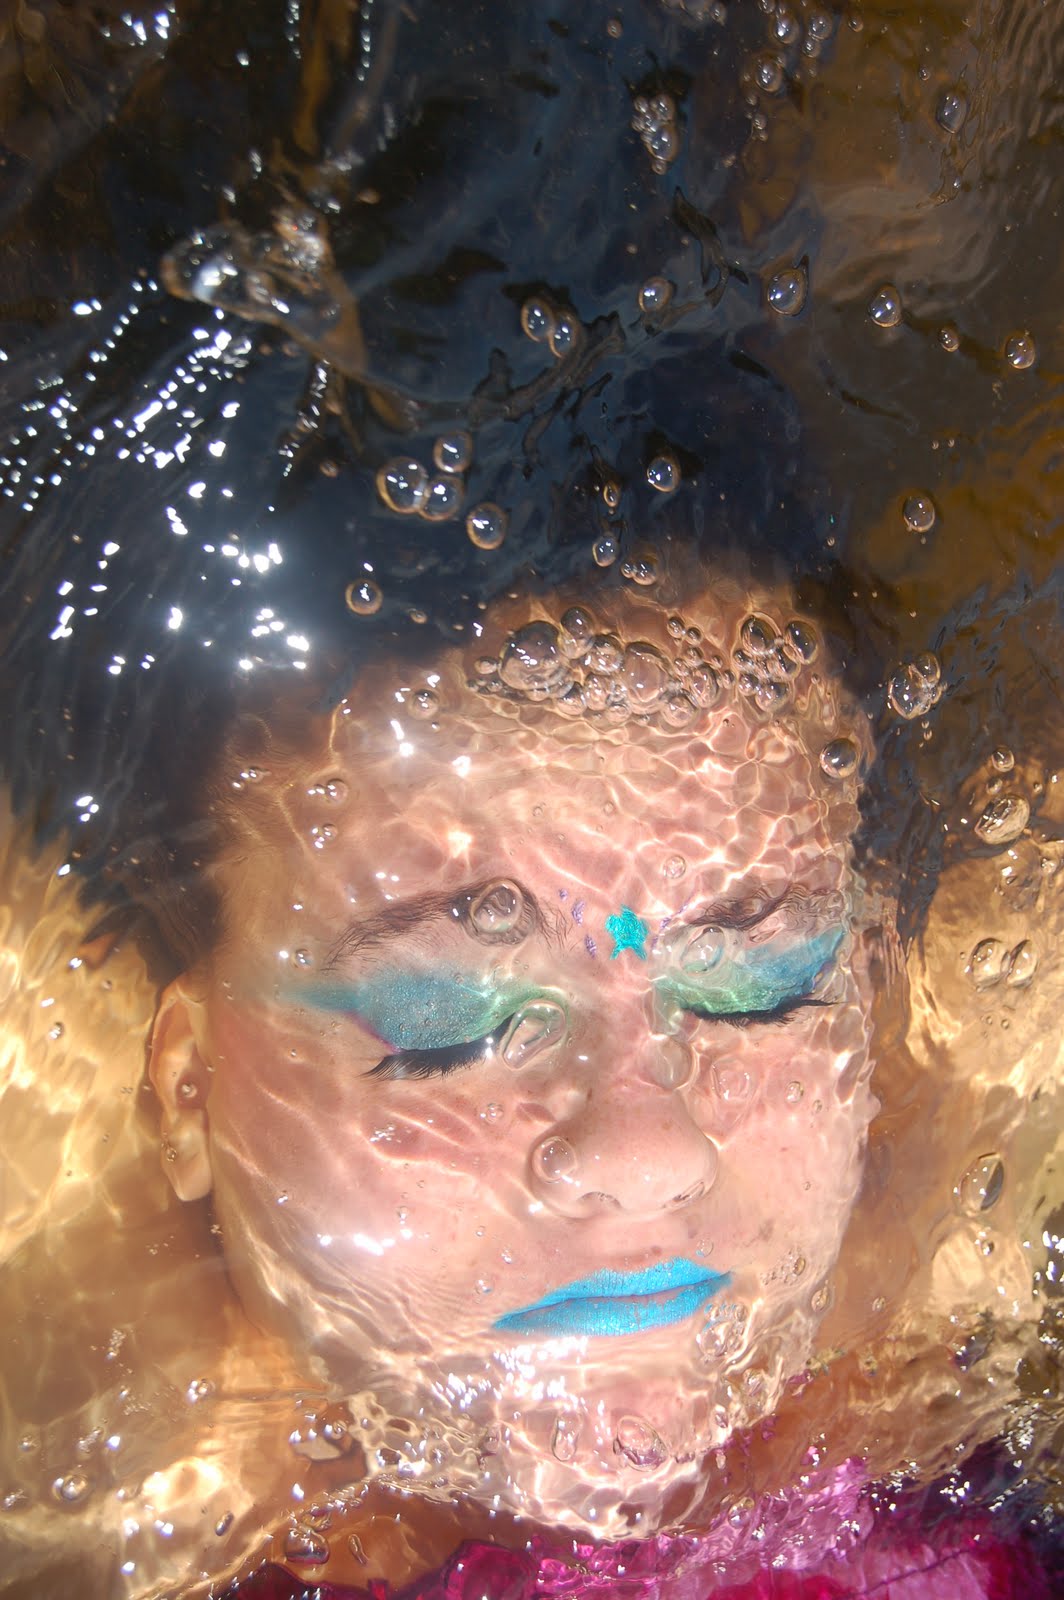
Water / Mermaid Inspired Photoshoot

And here's part 3 of my summer photoshoot fun! This look was done inspired by water. This was probably the most fun out of the three we shot together. We did this entire shoot in the water, which was crazy fun haha.

Make Up Artist: Sarah (Me)
Model: Jane T.
Photographer: Sarah (Me)
Camera: Nikon
Area: Norway Bay, Quebec


Earth Inspired Makeup Photoshoot

Heres part 2 of my summer photoshoots. Check out my Twitter.com for more info on what's being going on.


Make Up Artist: Sarah (Me)
Model: Jane T.
Photographer: Sarah (Me)
Camera: Nikon

Area: Norway Bay, Quebec


Air Inspired Makeup Photoshoot

Hey everyone! I've been SUPER busy lately with everything that's been going on in my life right now. I did a couple photoshoots with my new camera. They aren't like WHOA intense quality but it's better than my usual camera. So here are the pictures... I have two more categories coming up after this blog post. Check out my Twitter for more info on what's happening.

Make Up Artist: Sarah (Me)
Model: Jane T.
Photographer: Sarah (Me)
Camera: Nikon

For AIR, I wanted to do something really soft, and blended. I used soft blues, iridescent purples, and shimmery white.