Bold crimson lip color has an all-eyes-on-you effect — the reason it's so popular on the red carpet. Trouble is, its rich pigment seems to have a magnetic pull toward teeth. What's the deal? "Red shades can be packed with three times more pigment than paler shades," explains alan Farer, vice president of color research and development at Coty. "The stark contrast of red on white is simply more noticeable than pink or nude on white."
Here's a quick tip on how to avoid getting lipstick smudges all over your teeth. All you need is a Q-tip, petroleum jelly, and of course your favorite lipstick!
Step 1: Apply your lipstick like normal.
Step 2: Grab a Q-tip and run it accross your teeth to pick up any excess pigmentation on your teeth.
Step 3: Dip the other end into petroleum jelly, and then rub it on the front of your teeth.
Showing posts with label How To. Show all posts
Friday, March 25, 2011
Wednesday, March 23, 2011
Diane Kendal's Guide to Runway Perfect Skin
Makeup artist Diane Kendal whipped up looks for eight shows in New York last week—everything from tribal-influenced crimson eyes at Thakoon to statement brows at Alexander Wang. The one constant at all her shows: the incredible quality of the models’ skin, especially noticeable on the nearly bare faces at Reed Krakoff and Proenza Schouler. Kendal has long been known for her contoured, less-is-more approach to complexions. Here’s how she does it, step-by-step:
1. Start with rose water: “It’s my all-time favorite product,” says Kendal, who has been using the all-purpose eau for more than 20 years as a toner to prep the skin. For tired models backstage, it doubles as a pick-me-up throughout the day: “It makes the girls feel good.”
2. Prime: Kendal is partial to M.A.C Studio Moisture Fix SPF 15, which, “sinks into the skin very quickly, and creates a beautiful canvas for applying foundation.”
3. Blend: Backstage, Kendal relies on a professional palette of Dermacolor foundations, available through the pro makeup source Kryolan (kryolan.com), but recommends more user-friendly formulas like M.A.C Studio Sculpt SPF 15 Foundation for everyday use. She’s often spotted with a dollop of Embryolisse cream on the back of her hand as a mixing agent—this way, the same foundation can go from spot-treating “concealer” to “tinted moisturizer” in a brushstroke.
4. Contour: For soft definition and luminosity, Kendal layers several cream—not powder—blushes. “It keeps the face looking fresh and young.” She works a deeper taupe-y brown under the cheekbones and into the temples, and uses a brighter peach to accentuate the apples of the cheeks. She relies upon pale, pearlescent highlighter (like M.A.C Lustre Drops, due out in April) to brighten the brow bones, the bridge of the nose, and the Cupid’s Bow of the mouth. To keep the dewy finish in balance, Kendal dusts loose powder across the T-zone.
5. Finishing touch: “Sometimes, if the face looks too ‘done’ once I’m finished, I rub moisturizer on top. It works really well, to deconstruct a look. I like that bit of residue.”
[Source]
Get the Toxic Nature Look: Illamasqua
Eyes: Apply new Cream Pigment in Hollow (toffee), around the eye using fingers or a brush, extending right down to the highest point of the cheekbones to exaggerate the eye shape. Develop the depth of colour with Cream Pigment in Emerge (peach) and Delirium (rose taupe), before using Powder Blusher in Sin (deep violet plum), to set and contour the outer edges of the eye.
Lips: Fill the lip with the latest edition to the Illamasqua Lipstick range, Atomic (fushia violet), before using an Angled Eye Liner Brush to line the lip with new Cream Pigment in Mould (grape). For extra definition and a shot of gloss, dab a small amount of Sheer Lipgloss in Divine (fushia pink) to the centre of the lip.
Face: Apply new Cream Pigment in Emerge (peach), under the cheekbones for a peachy sheen, before setting with a light dusting of Powder Blusher in Lover (soft apricot).
Enjoy recreating this Toxic Nature look...!
Tuesday, March 15, 2011
How To Effectively Remove Mascara
![]() |
| Let's avoid looking like this guy. |
![]() |
| View this image in full size. As you can see, there is a huge difference between the two pictures! |
Step 1: Soak one end of a Q-Tip in makeup remover. hold it under, and above your lashes for about 30-60 seconds. This lets the remover dissolve any makeup left on your eyelashes. Depending on the makeup remover you're using, careful not to get any in your eye.
Step 2: Repeat step 1 on all parts of your lashes, don't forgot to do both sides, and your lower lashline. You'll start to notice all the makeup that the Q-Tip is picking up.
Step 3: Once you feel that the makeup remover did it's job, you can use the dry side of the Q-Tip to clean up any extra makeup.
Remember, the more you repeat step 1, the more makeup will be removed. I hope these tips were helpful and useful!
Saturday, January 29, 2011
How To: De-pot Urban Decay's Primer Potion
Im sure everyone who owns this knows that at some point, you will have to somehow open up the bottle to get all of the product out. So I did a step by step, picture by picture tutorial to show you.
Step 1: You will need a cutting board, a good knife, an empty makeup container (make sure to use a medium sized container), a small concealer brush, and your Primer Potion.
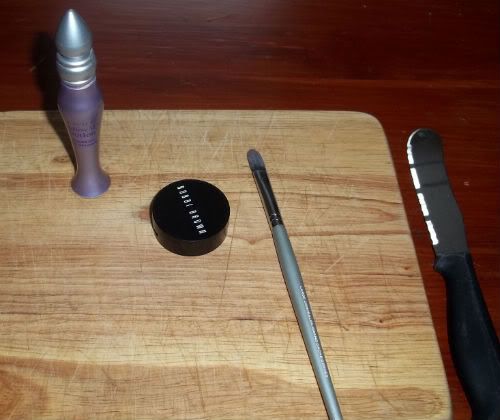
Step 1: On the cutting board, firmly hold the Primer Potion down with one hand, and with the other hand start sawing open the bottle. Make sure to take the wand out FIRST.
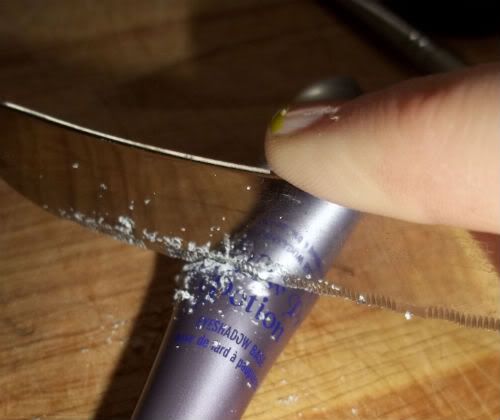
Step 2: You don't need to saw through the entire thing, but when it's about 3/4 of the way through, you can stop sawing.
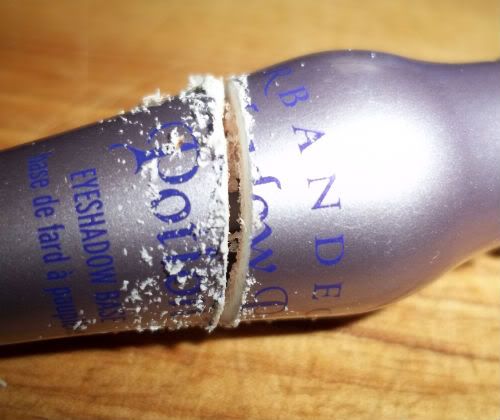
Step 3: You should be able to stretch the bottle apart at this point for easier acess.
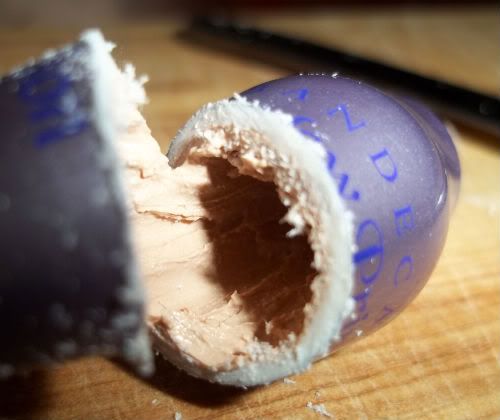
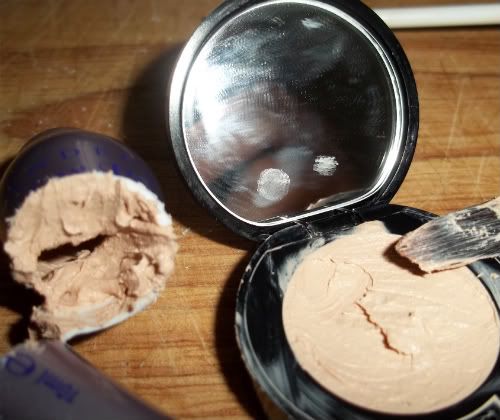
Step 4: As you can see, there is a TON of unused Primer. Start scooping it out with the concealer brush into the container. ** I am using Bobbi Brown's concealer jar, but I would recommend something larger.
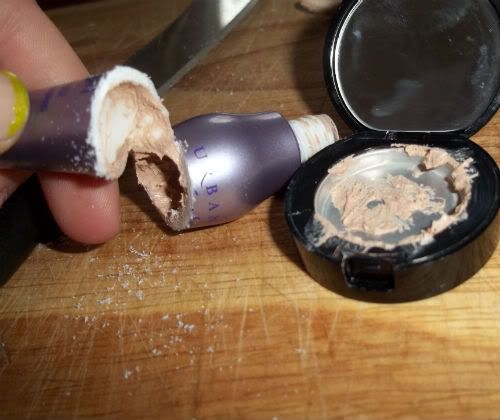
Step 5: Once again, there is a TON of unused product, and I haven't even gotten it all out in the picture below.
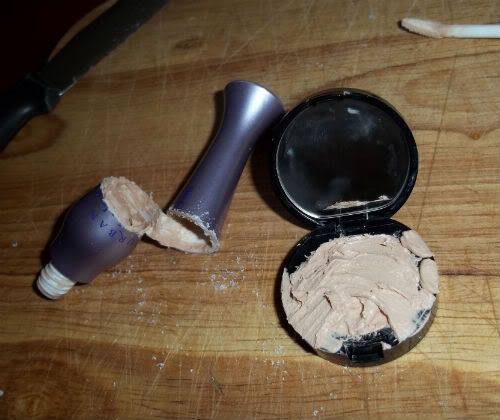
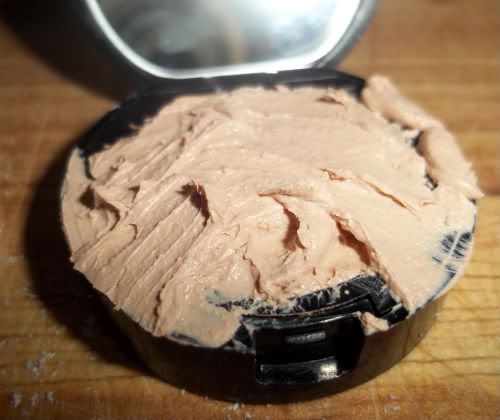
Step 6: Since my jar was too small, I had to take out some of the product and put it back in the middle of the Primer Potion bottle. Make SURE to use something a decent size!
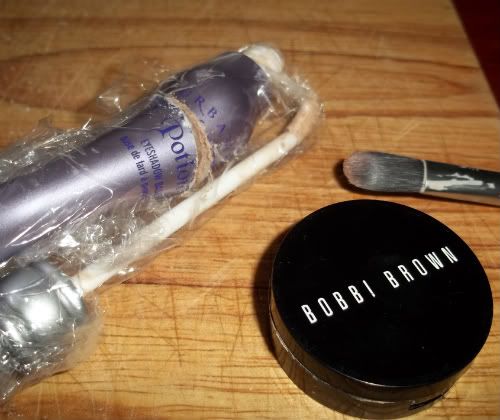
Step 7: I wrapped up the rest of my Primer Potion in plastic wrap. When you go to use your primer, use whatevers left of the Primer Potion bottle first.
Good luck!
Step 1: You will need a cutting board, a good knife, an empty makeup container (make sure to use a medium sized container), a small concealer brush, and your Primer Potion.

Step 1: On the cutting board, firmly hold the Primer Potion down with one hand, and with the other hand start sawing open the bottle. Make sure to take the wand out FIRST.

Step 2: You don't need to saw through the entire thing, but when it's about 3/4 of the way through, you can stop sawing.

Step 3: You should be able to stretch the bottle apart at this point for easier acess.

Step 4: As you can see, there is a TON of unused Primer. Start scooping it out with the concealer brush into the container. ** I am using Bobbi Brown's concealer jar, but I would recommend something larger.

Step 5: Once again, there is a TON of unused product, and I haven't even gotten it all out in the picture below.


Step 6: Since my jar was too small, I had to take out some of the product and put it back in the middle of the Primer Potion bottle. Make SURE to use something a decent size!

Step 7: I wrapped up the rest of my Primer Potion in plastic wrap. When you go to use your primer, use whatevers left of the Primer Potion bottle first.

Good luck!
Thursday, January 27, 2011
How-To: Day to Night Makeup
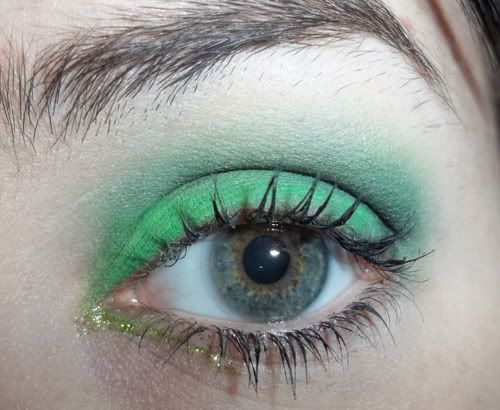
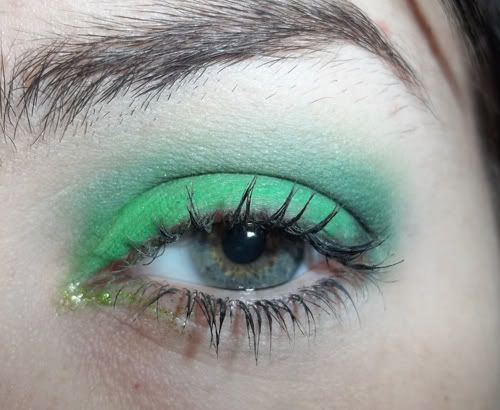
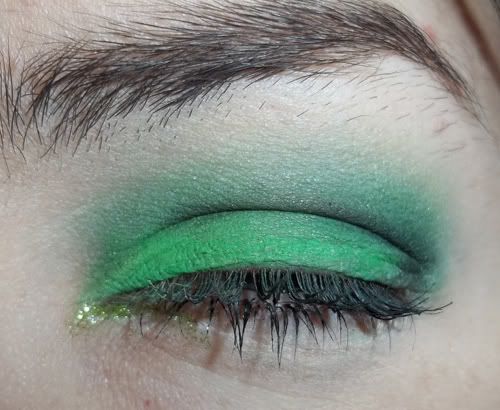
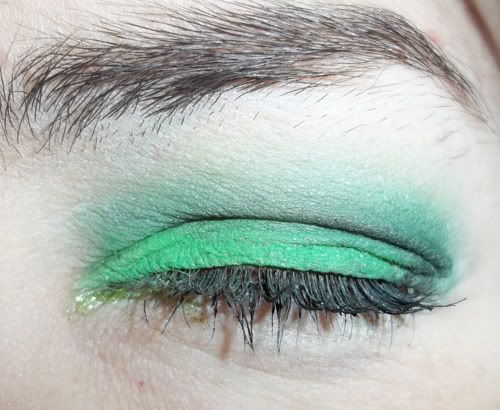
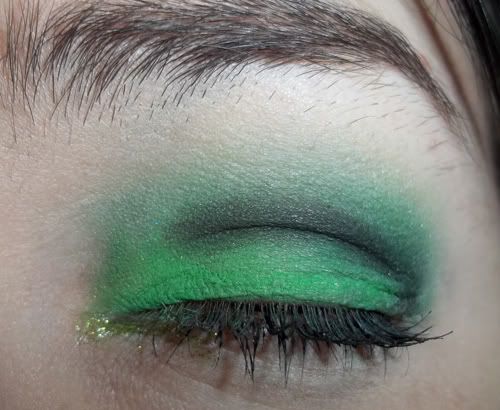
I did a really simple look today, and I decided to show an easy way to change a bright day look- to a nice evening look.
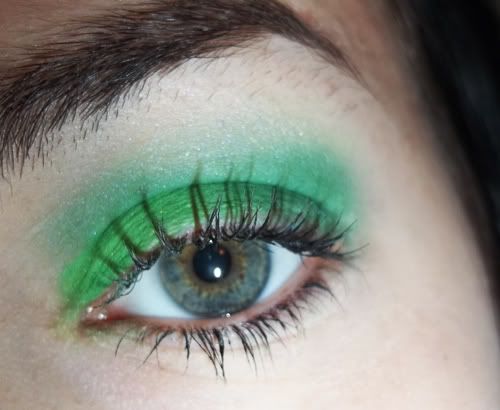
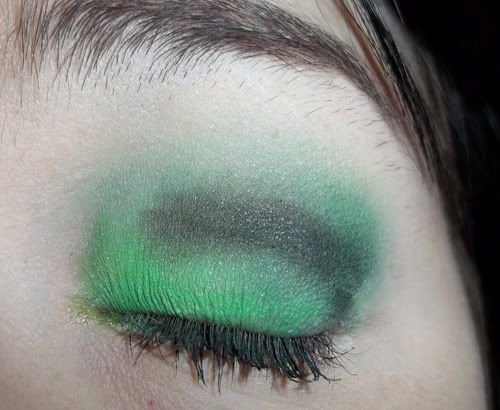
Here's the original look. I used two green colours from the 88 Palette by BH cosmetics. I wore this look out to work, so yes it's faded. I'll show you how to fix it. :D

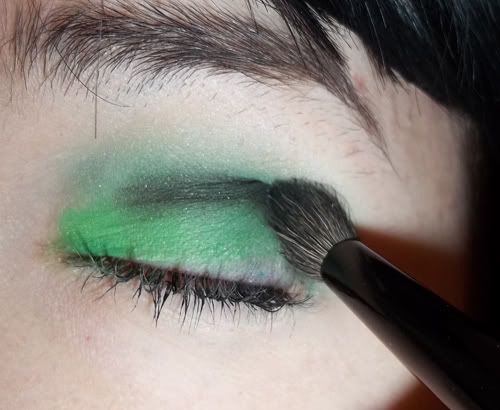
First thing you want to do is take a fluffy blending brush and blend a dark green or a black into the crease. Im using the black on the 88 Palette.

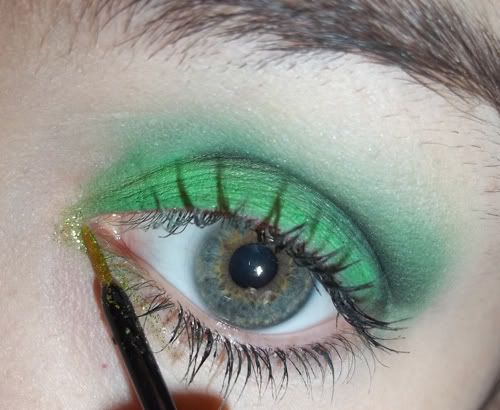
Add a bit of glitter to your inner corners or bottom lashline. A shimmery eyeshadow also works well. I am using Annabelle's Liquid Glitter Eyeliner in Green.


There are many different ways you can do this. This is basically the easiest way for me.
Subscribe to:
Posts (Atom)